How hip replacement changes seat height, bathroom access, walking support, and early recovery decisions.
After hip replacement, the most important equipment choices usually focus on safe sit-to-stand, bathroom access, walking confidence, and avoiding setups that force awkward bending or twisting.
Photo credit: EnabledHub archive
On This Page
Why the bathroom becomes a priority
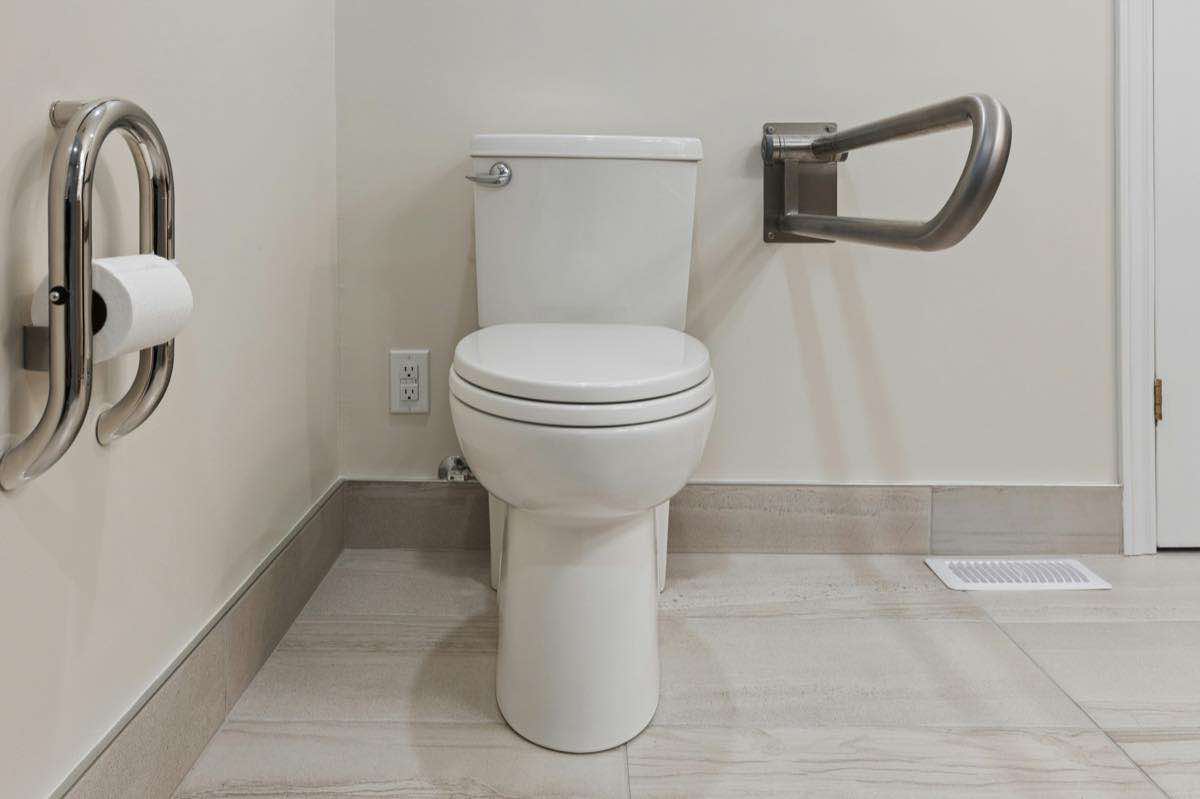
After hip replacement, some of the highest-risk moments happen in the bathroom: approaching a toilet, sitting and standing from a low seat, getting into the shower, and managing slippery surfaces while confidence is still returning.
Small equipment choices can make those routines far more manageable, especially when they reduce low transfers and awkward turning.
Focus on seat height and approach angle first.
Reduce bending, twisting, and unstable pivoting.
Aim for one clean routine rather than several temporary fixes.
What to assess
Check toilet height, shower entry, threshold clearance, bed and chair height, and whether walking support is needed inside the home, outside, or both.
Also look at whether recovery is largely self-managed or whether another person will be helping with bathing and transfers during the first phase.
Seat and bed height mismatch
Bathroom turning space
Need for short-distance indoor walking support
Temporary versus longer-term recovery support
Most relevant equipment families
For many hip-replacement routines, the most useful starting point is a mix of walking support, toileting support, and bathroom access equipment.
That often means comparing walkers or rollators, raised or supported hygiene solutions, and bath or shower products that make early recovery simpler and safer.
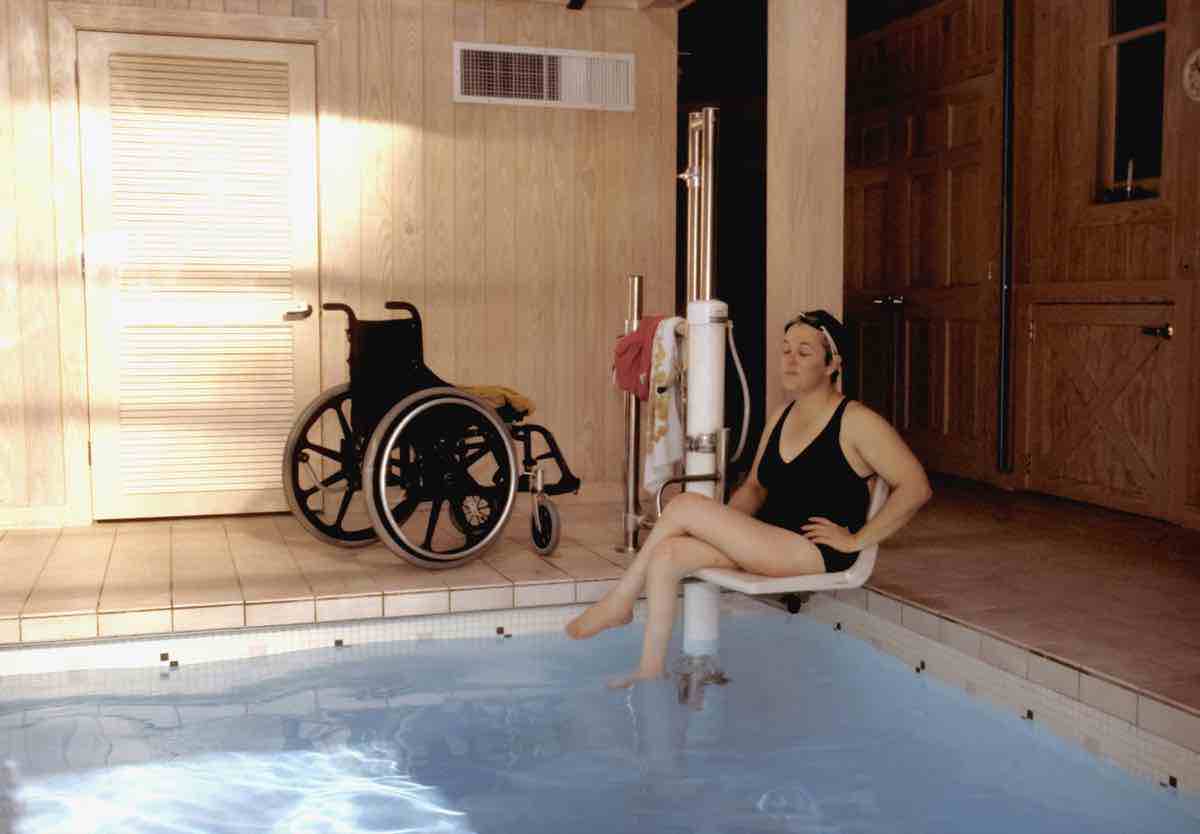
Rollators and walkers for safer movement while confidence returns
Bathroom seating and hygiene support to reduce low transfers
Bath-transfer products where shower access is not the main routine
How to keep recovery equipment practical
Try not to build a recovery setup from unrelated add-ons. A small number of well-matched products usually works better than multiple overlapping devices that create clutter or inconsistent routines.
Choose the equipment that supports the hardest daily moments first, then expand only if there is a clear benefit.
Prioritize the route that feels least safe today
Match seat heights across the main routine where possible
Choose easy-to-clean, low-friction bathroom support
Relevant content hubs
Condition pages, category hubs, and multilingual guides that clarify the next step.
Popular department
Bathing & Toileting
Bath lifts, shower commodes, grab bars, and toilet support with transfer-first guidance.
Bath lifts are most useful when someone still wants or needs a bath routine, but transfers into and out of the tub have become the highest-risk part of the day.
Rollators and walkers are most helpful when someone still walks, but needs more consistency, pacing, braking confidence, or support to complete daily routes safely.
Indoor turning radius
Outdoor terrain
Car loading weight
Relevant articles
Practical reading for caregivers, families, clinicians, and support teams.